How to Stitch Screenshots Into One Long Image
A conversation that spans four screenshots, a receipt too long for one screen, an article you want to save whole. Scrolling content produces fragments, and sharing four separate images in the right order rarely survives a group chat. Stitching them into one continuous image fixes that. Here's how to do it so the result stays sharp and readable.
Open the Image CombinerStep 1: Take screenshots with overlap in mind
Before capturing, scroll so each screenshot starts where the previous one ended, a clean handoff with no repeated lines. A small overlap is fine (you can crop it later), but repeated paragraphs in the middle of the final image look sloppy. On most phones, scrolling half a message or one paragraph past the previous screenshot's end works well.
Step 2: Add them in order
Click Add Images and select all the screenshots at once. If your file manager selected them out of order, don't re-upload. Drag any screenshot onto another in the preview to reorder. The numbers on each image show the current sequence.
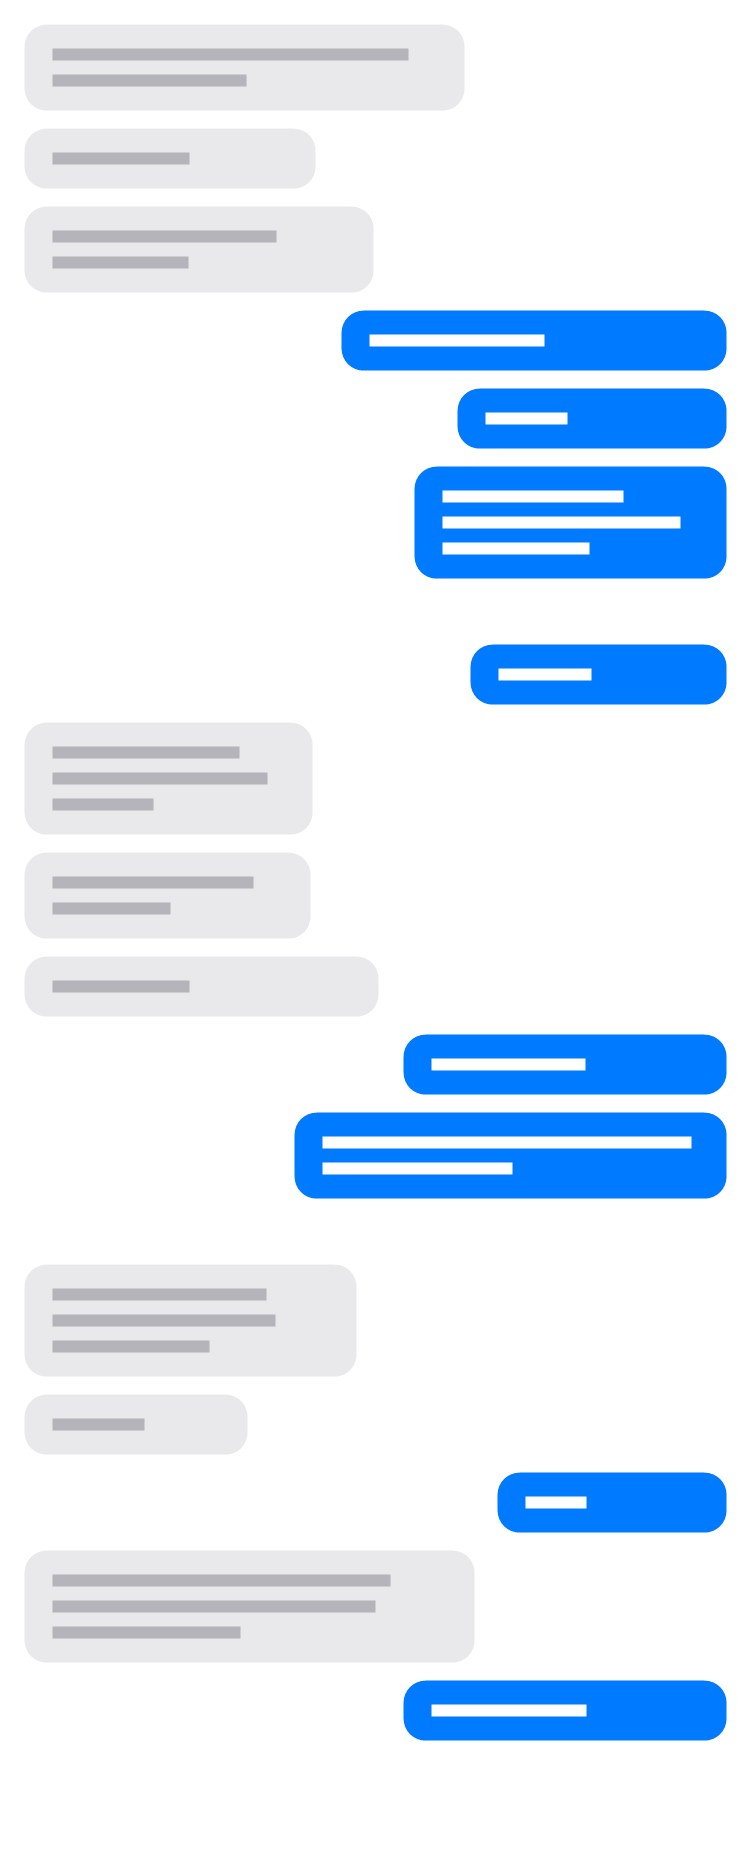
Step 3: Stack them seamlessly
- Choose the Vertical layout. Screenshots joined top to bottom read like one long scroll.
- Keep Spacing at 0 so the pieces join with no visible seam.
- Leave Size on Reduce. Screenshots from the same phone are already identical widths, so nothing gets scaled at all; if you mix sources (phone + desktop), Reduce scales them to a common width without blurring the smaller one.
Step 4: Export as PNG
This is the one place format choice really matters. Screenshots are full of text and sharp edges, and JPG compression smears exactly those. Pick PNG in the format dropdown next to Download. The file is bigger, but every letter stays crisp. Use JPG only if the file size matters more than text sharpness (e.g. an email attachment limit).
Sensitive content stays private
Chat screenshots are often exactly the thing you don't want uploaded to a random website. This tool does the stitching locally in your browser: the images never leave your device, nothing is stored, and there is no account.
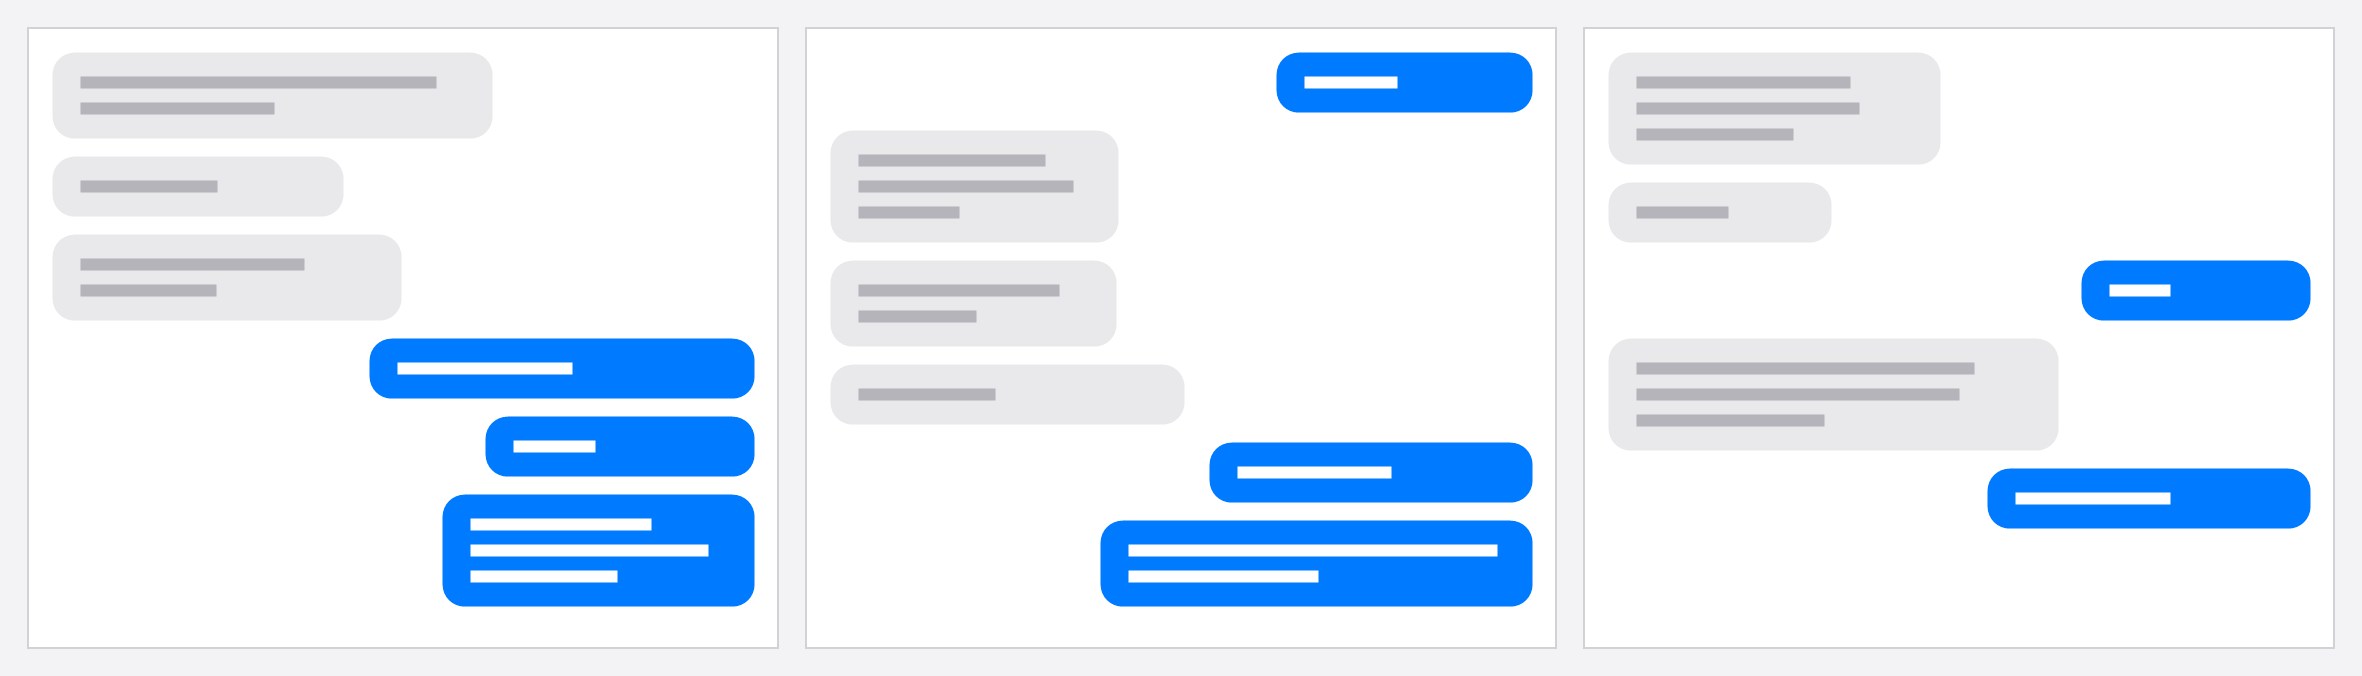
Horizontal stitching
The same technique works sideways for wide content: two halves of a spreadsheet, a panorama captured in sections, side-by-side app comparisons. Pick the Horizontal layout instead, keep spacing at 0, and use Reduce so mixed heights level out.
Related
Arranging photos in a grid instead of a strip? See how to make a collage that fits Instagram. Comparing two versions of something? See the before/after guide.